Ghost Mannequin Photography: The Complete Guide for Clothing Brands
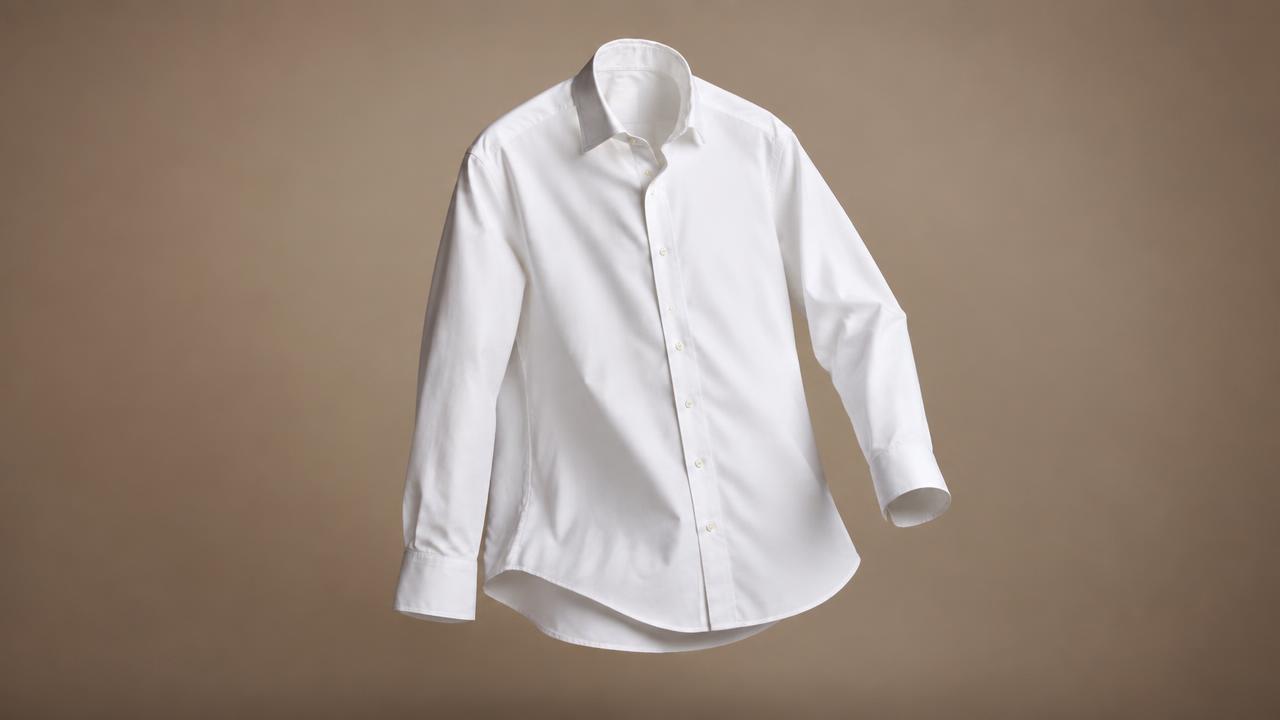
Ghost mannequin photography — also called invisible mannequin or hollow man photography — shows a garment holding its natural shape with no mannequin and no model inside it. The collar stands, the sleeves fall correctly, and you can see the inner lining at the neckline. It is the standard look for fashion catalogs because it communicates fit and construction without distracting the shopper.
Why it converts
Shoppers cannot touch your product, so shape does the selling. A flat-lay photo flattens the shoulder line and hides the drape. A ghost mannequin shot answers the questions a buyer actually has: how boxy is it, how deep is the neckline, how long are the sleeves, is the fabric structured or soft.
It also keeps your catalog consistent. Every item sits in the same position, in the same light, against the same background — so your collection page looks like one brand instead of ten different photo sessions.
Ready to try it on your own products?
Upload a product photo and get studio-ready shots in minutes — no models, no photographer.
The traditional way
Studios shoot the garment twice: once on a mannequin for the outer shape, once turned inside out or with the collar isolated for the inner neckline. A retoucher then combines the layers and removes the mannequin. It is precise work, and it typically costs a studio day plus retouching for a handful of items.
The modern way
AI ghost mannequin generation rebuilds the garment on an invisible form from your reference photos. A practical workflow:
Quality checklist
Start small
Pick five best-selling items and produce a full session for each: front, back, side and a fabric macro. Measure the change in add-to-cart rate over two weeks before rolling the look out across the whole catalog.
Read next
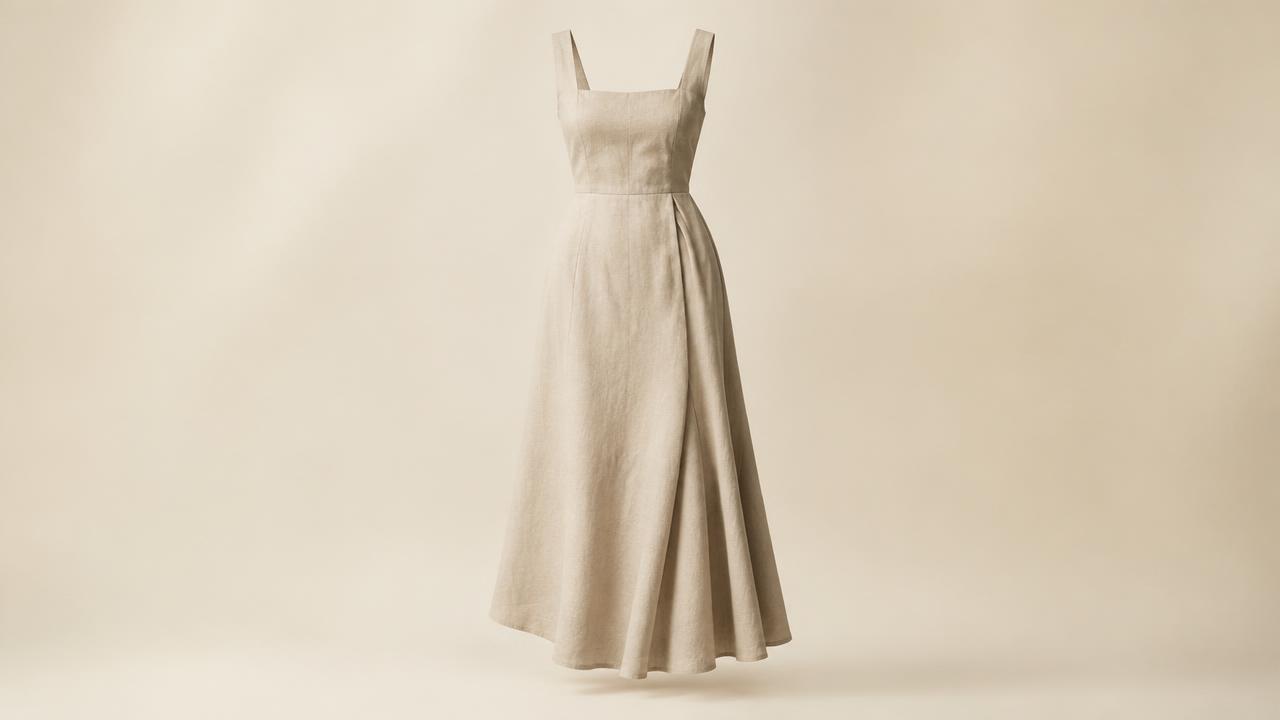
Clothing Photography Without Models: A Complete Catalog Approach
How to build a desirable, complete fashion catalog with no models — and why many brands prefer it.
Read article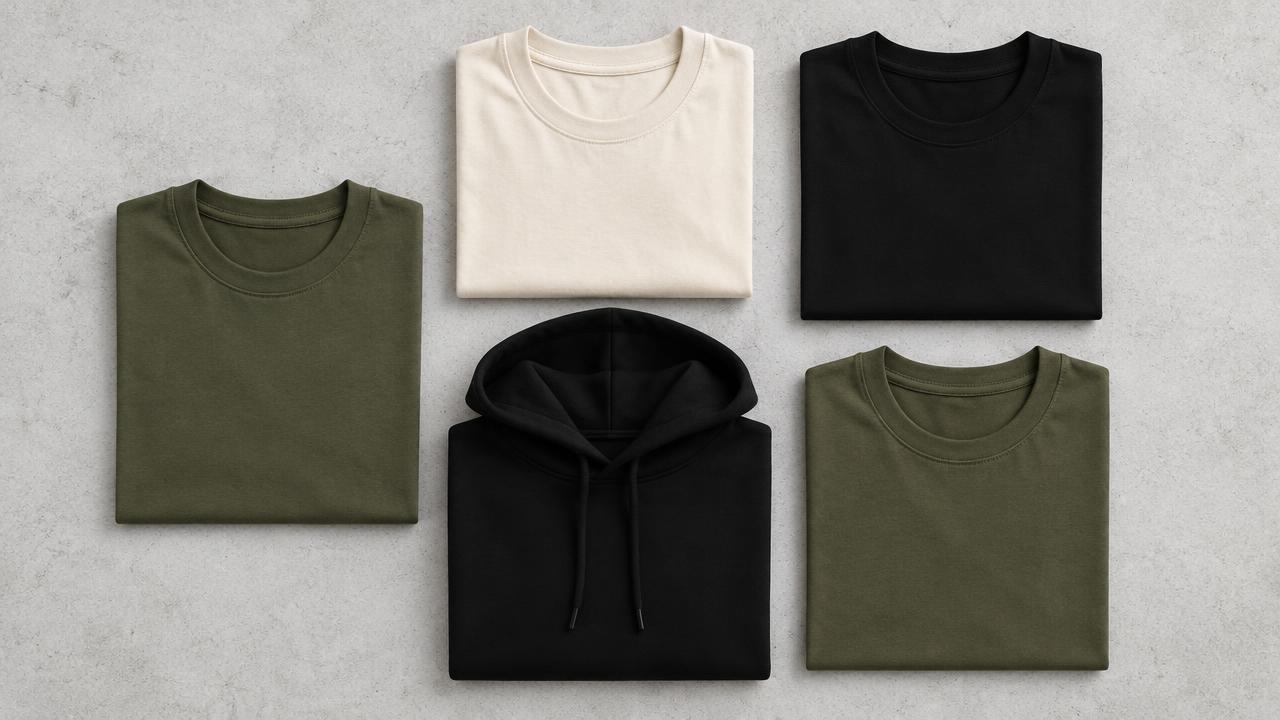
T-Shirt Mockups for Small Brands: Validate Designs Before You Print
How to preview artwork on garments quickly, what makes a mockup look believable, and when you need a real photo instead.
Read articleReady to try it on your own products?
Upload a product photo and get studio-ready shots in minutes — no models, no photographer.