Blog/T-Shirt Mockups for Small Brands: Validate Designs Before You Print
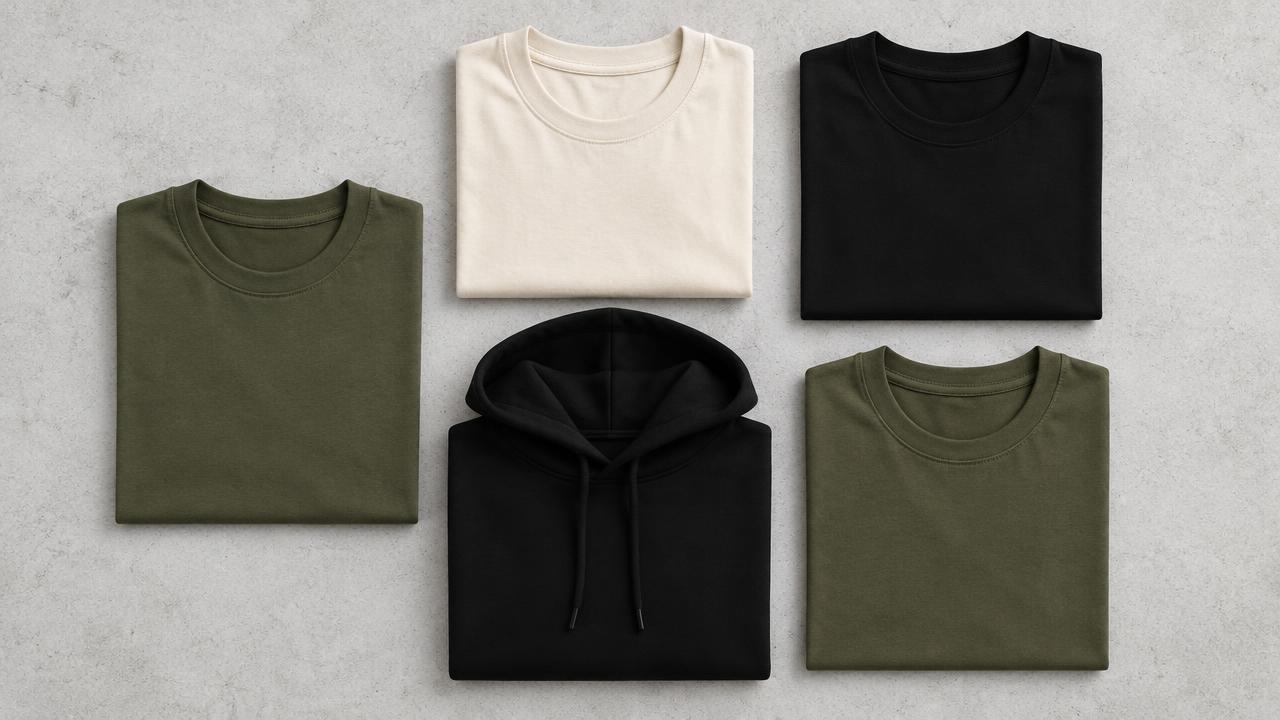
T-Shirt Mockups for Small Brands: Validate Designs Before You Print

19 September 2026·2 min read·DressyLab Studio
T-Shirt Mockups for Small Brands: Validate Designs Before You Print

Printing a sample for every design idea is slow and expensive. A mockup lets you see the artwork at the right scale and placement in seconds, so you only print the designs worth printing.

What a mockup is for

  • Checking scale: a logo that looks right in a design file is often far too large on a chest.
  • Ready to try it on your own products?

    Upload a product photo and get studio-ready shots in minutes — no models, no photographer.

    Open the studioExplore the tools
  • Checking placement: centre chest, left chest, pocket, oversized front, back print — each changes the feel.
  • Checking contrast: pale artwork on a light garment disappears at arm's length.
  • Testing with customers: post three mockups, see which one people ask about.
  • Getting placement right

    Standard placements as a starting point: centre chest artwork about 28 to 30 cm wide for adult sizes, top edge roughly 7 to 9 cm below the collar. Left chest logos about 8 to 10 cm wide. Oversized front prints run edge to edge with a 3 cm safe margin from the seams. Always check your printer's own template before finalising.

    What makes a mockup believable

    • The artwork should follow the fabric, not sit on top of it like a flat sticker. Blending the artwork with the garment's shading preserves folds.
    • Keep the garment colour accurate to the blank you will actually order, not an idealised swatch.
    • Match resolution: a low-resolution logo will look soft in print too. If your file is small, upscale it before you commit.
    • Do not over-light. A mockup with a glowing highlight across the chest hides how the print will read.
    • When a mockup is not enough

      Mockups are for decisions, not for your final product page. Before you publish a listing, photograph the printed garment, or generate a full studio session from a photo of the real printed item. Customers who receive something that looks different from a stylised mockup return it — and say so publicly.

      A fast workflow

      1. Export your artwork as a transparent PNG at print resolution.
      2. Place it on the garment shape and colour you plan to order.
      3. Adjust scale and vertical position until it matches your placement spec.
      4. Download and share for feedback; keep the three strongest.
      5. Print those, photograph them, and build the real product page from those photos.
      6. A browser-based mockup tool runs entirely on your device, so unreleased artwork never leaves your computer.

        Read next
        Turning One Product Photo Into a Reels and TikTok Video

        Turning One Product Photo Into a Reels and TikTok Video

        A simple structure for short product videos, why sound design beats music, and how to keep the product the hero.

        Read article
        Clothing Photography Without Models: A Complete Catalog Approach

        Clothing Photography Without Models: A Complete Catalog Approach

        How to build a desirable, complete fashion catalog with no models — and why many brands prefer it.

        Read article

        Ready to try it on your own products?

        Upload a product photo and get studio-ready shots in minutes — no models, no photographer.

        Open the studioExplore the tools