How to Shoot Product Photos With Your Phone (That AI Can Actually Improve)
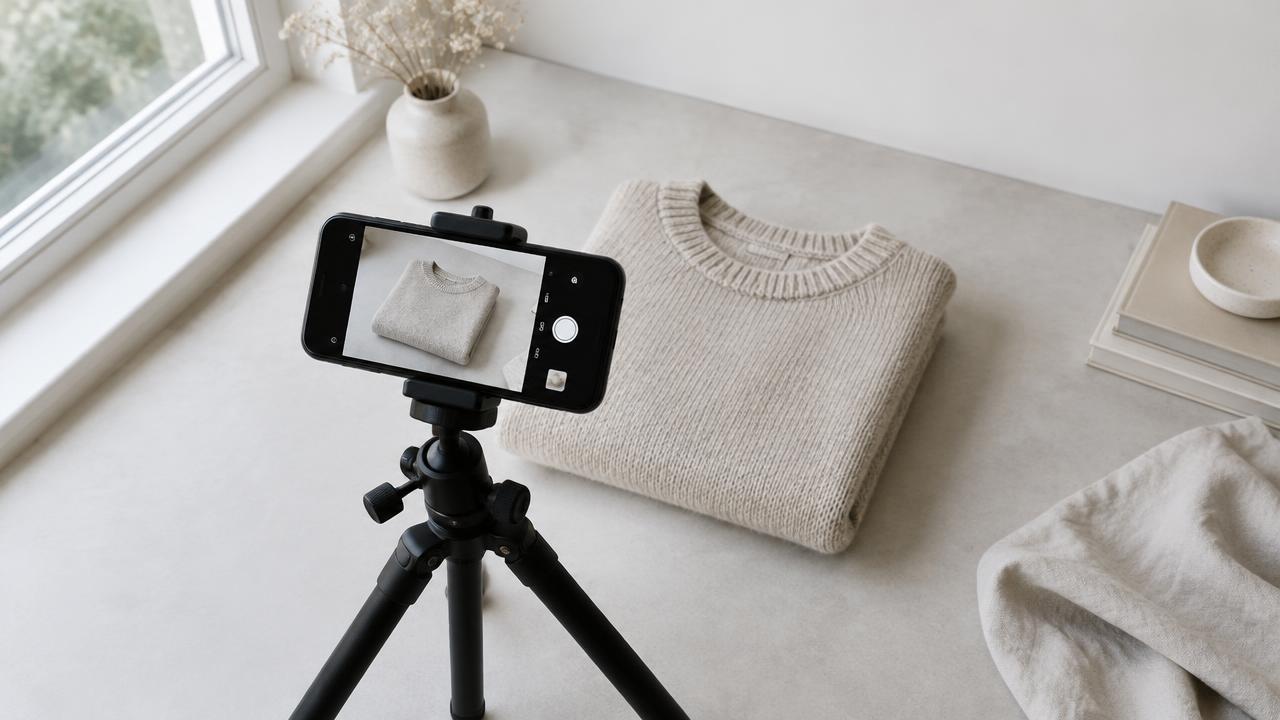
You do not need a studio to feed an AI product photography tool. You need a consistent, well-lit, honest reference photo. Here is a setup you can repeat in ten minutes with no equipment budget.
Light
Shoot next to a large window, with the light coming from the side rather than behind you. Turn off every ceiling light and lamp so you only have one colour of light. Avoid direct sunlight; it creates hard shadows that hide detail. A white bedsheet or a sheet of A1 paper opposite the window acts as a reflector and softens the shadow side.
Surface and background
Ready to try it on your own products?
Upload a product photo and get studio-ready shots in minutes — no models, no photographer.
Use a plain, matte, light surface — white or light grey. Skip patterned tables and wooden floors with heavy grain; they bounce colour into the fabric. If you shoot hanging garments, hang them against a plain wall and keep about a metre between garment and wall so the wall stays clean.
Camera settings
The reference set
For clothing, capture: front flat, back flat, one side or sleeve, and one close-up of the fabric. For shoes, bags or watches: three-quarter, profile, and a detail of the material or hardware. These references let a studio tool rebuild angles faithfully instead of guessing.
Preparation beats retouching
Steam or iron the garment. Remove loose threads and lint with tape. Close zips and align buttons. Stuff sleeves and shoulders lightly with tissue to hold shape. Five minutes of preparation saves far more than any filter.
What to avoid
Then let the tool work
Once you have honest references, run the background remover for a clean cut-out, upscale if the original is soft, and generate a full studio session for your best sellers.
Read next

Writing Arabic Product Descriptions That Actually Sell
Why translated English copy underperforms in Arabic markets, and a structure that works for Gulf and Egyptian shoppers.
Read article
Studio Shoot vs AI Product Photography: An Honest Cost Comparison
What each option really costs per product, where each one wins, and how most brands end up combining them.
Read articleReady to try it on your own products?
Upload a product photo and get studio-ready shots in minutes — no models, no photographer.